
Bird ID Basics Course
(Sample Page)
Welcome! This is a sample of the Participant Page for our 2024 Bird ID Basics Course. If you are interested in attending this course, you can find more details and register on the course info page. If you have any questions or want to get in touch, please contact me at info@wildremembering.com.
-
Welcome to Wild Remembering’s Bird ID Basics Course! On this page you’ll find all the information you need for the online and self-study portions of the course. If you ever have any questions or concerns, don’t hesitate to reach out to me at info@wildremembering.com or post general birding or course questions on our group facebook page so that others can learn as well.
This course is a hybrid format consisting of:
Online Classes which will take place Tuesday, Feb 27 and Wednesdays, March 6-27 from 6:30-8:00pm. These sessions will be recorded and posted here on the Participant Page for those who can’t attend live. The Google Meet link for all meeting will remain the same throughout the course. That link can be found below as well as in your course emails, and posted as a reminder each Wednesday morning on our Facebook group.
Birding Field Trips which will take place Saturdays, March 2- March 30 from 8am-12pm. Meeting Locations for these will be sent via email to registered participants by Friday afternoon at the latest. These locations will also be posted on our Facebook group. These locations will be within a 30 minute drive from Sylva, NC and carpools will be available.
Homework which will consist of optional assignments which participants can engage with to whatever degree they choose. For each week of the course, a module of several Field Assignments and Study Challenges will be listed below. A journal, writing utensil, a few colored pencils, and a field guide will be useful for completing these. The Study Challenges and Field Assignments within each module are complimentary to each other and it is recommended that they are completed in order. For example, the ideal sequence to complete the homework is: Field Assignment 1, Study Challenge 1, Field Assignment 2, Study Challenge 2, etc. Don’t be too uptight about it though! Feel free to progress slowly, skip ahead, or make up your own assignments and challenges if there’s a something that piques your interest! It is not required to complete all of the previous week’s assignments before starting the next module.
Facebook Group: Wild Remembering Learning Community is a place where participants from this course can share stories and photos from their sit spot and field assignments. Participants can also post discussion questions, links to articles, or other resources related to this course.
Registered Participants can join our weekly Online Classes by clicking the button below

Week 1: Location
Understanding the importance of Geography, Habitat, Season, & Time
Welcome to Week 1 of Bid ID Basics!
Before you begin, make sure you have read the section above titled “How the Course Works.”
If you are brand new to birding, and/or need a refresher on how to use binoculars correctly watch this short video for a helpful introduction to adjusting and focusing your binoculars.
Next read this short article which will explain why we focus on Location & Habitat first when trying to identify a new bird.
Optional: This short video (8min) is also a great introduction to Habitat as an essential key to Bird ID.
Now it’s time to dive in to the Field Assignments and Study Challenges which will help you get acquainted with your local habitats along with the birds you’ll find there! Remember, these are designed to be completed generally in order (alternating back and forth between Field Assignments and Study Challenges) but you don’t have to complete all of them.
Week 1 Field Assignments
-
Choose a “sit spot” near your home and visit there as often as possible- at least 15 minutes per day if you can. If this is your first time starting a sit-spot practice you can read more detailed instructions here or watch this video.
It’s important to practice slow mindful movement as you walk to and from your sit spot. Try to move as slowly and calmly as possible so you don’t scare off all the birds and animals. Bring your binoculars and journal with you to your spot but try to spend the first several minutes after arriving at your spot just being there, settling into stillness, and tuning into all of your senses.
Try to make a habit of visiting your sit spot every day throughout the duration of this course. All the Field Assignments in this course can be done from this spot and the more often you visit the more you’ll start to notice! Also, try to visit your spot at different times of the day. Notice how your spot might feel different first thing in the morning vs in late afternoon, or even after dark.
If you like, you can write a reflection in your journal about how you feel practicing mindful movement and mindful stillness at your sit spot or take notes and make sketches of some of the interesting things you see there.
-
One day, after arriving and settling in at your sit spot, sketch a simple bird’s-eye-view map of the area around you (50-100ft or so in each direction) in your journal. Draw some of the most prominent features such as large trees, thick brush, any water features (creek, pond etc.), human-made structures such as houses or roads and anything else that stands out. It doesn’t need to be perfectly accurate or beautiful in any way, just pretend you’re a child again and have fun! See an example here.
In addition to your sit spot map, start a bird species list of all birds whom you have seen at your spot. It’s ok if the list is only one or two species at first- a beginner’s mind is a beautiful thing! Keep this list going for the duration of the course and watch it grow as you build your identification skills and grow more confident!
It is fun and helpful to include other basic info on this list as well such as date of first sighting, an estimate of how many individuals you saw, and where exactly you saw them.
-
Next time you’re at your sit spot, take some time to look more closely around. Then use colored pencils to add the details you notice to the sit spot map you sketched in your journal. Label some of the dominant tree and plant species if you know their names or use general descriptors like “conifer” or “bramble thicket” if you don’t know specific names. Draw topography lines (hills and valleys), note the elevation and orientation (which way is north?), make note of spots where water might run or settle and note places that are dry. Take note of any animal trails, burrows, or scat you might find. Don’t forget to dig your fingers in the dirt and smell the soil. Are there places where the soil is more rocky, or more sandy, or “clay-ey”? Are there places with lots of leaf mulch or places with bare ground or grass?
Again, the point isn’t to make your map beautiful or perfectly accurate, but to have fun and to get even more intimately acquainted with this unique piece of land. See an example of my sit spot map with details here.
-
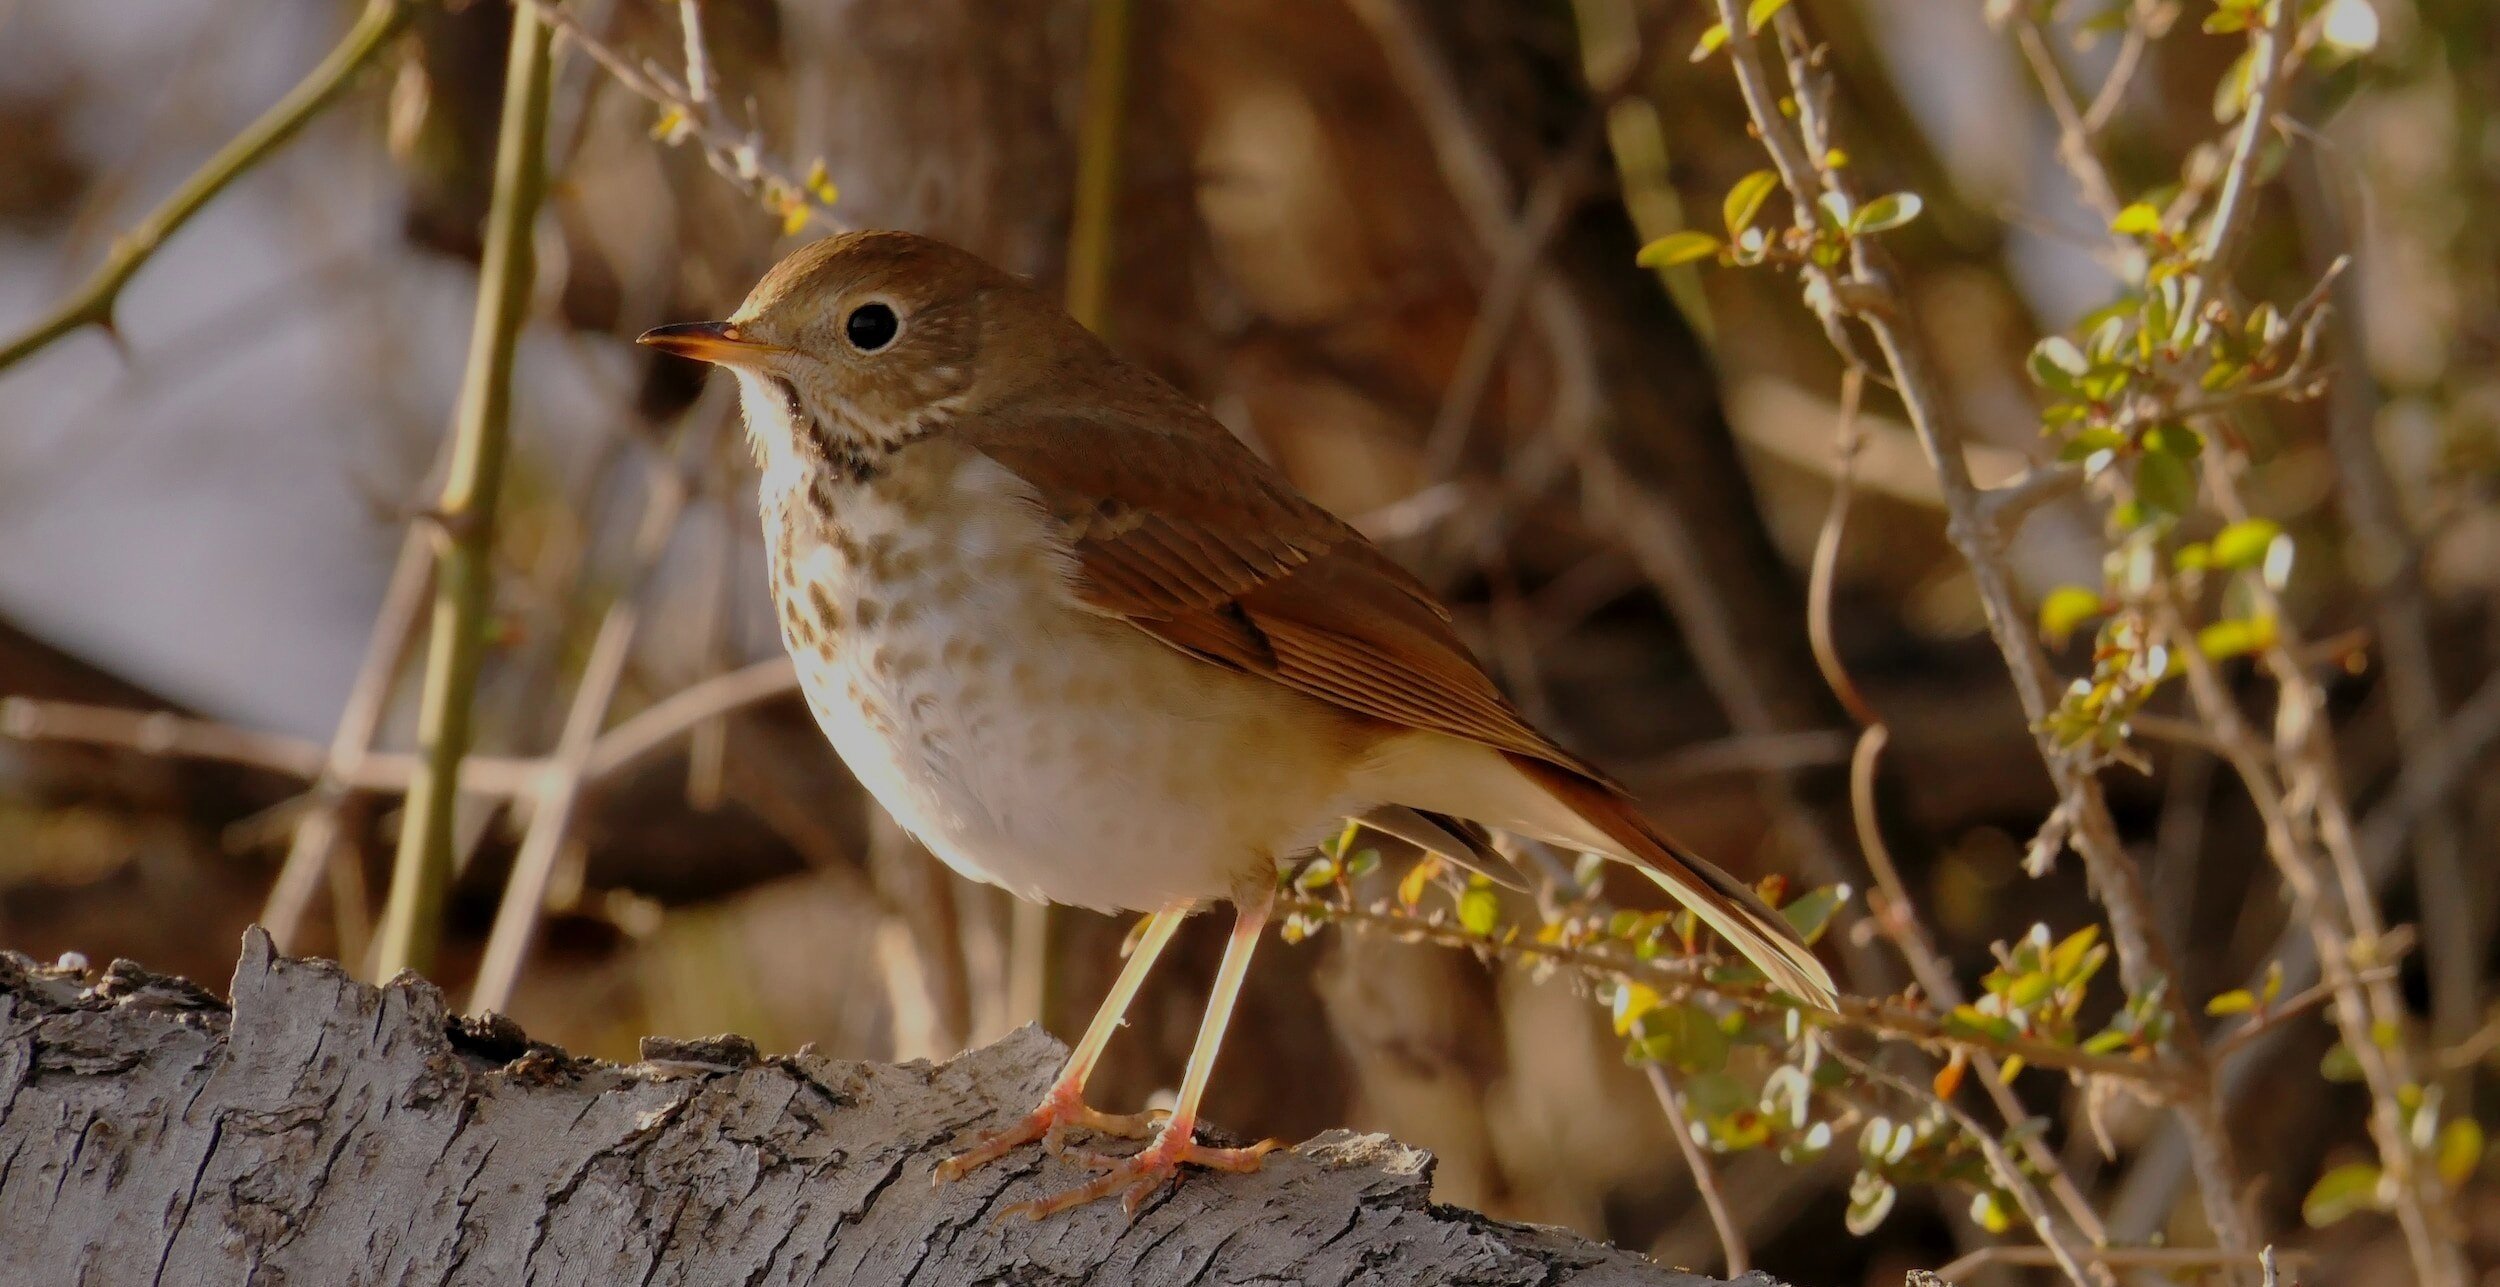
In your journal, draw a simplified diagram featuring some of the different habitat features of your sit spot (or download & print a generic template here). Using colored pencils with simple dots and arrows, mark on your diagram the locations and movements of the different birds you see. Focus on just a few of the most common species that are easy to recognize and use a different color pencil for each different species. If you are an absolute beginner don’t worry, just start with the most obvious and distinct birds such as Northern Cardinal, Blue Jay, and American Crow.
Mark a dot for every new location one of your target birds visits. Are they high in the canopy, mid-canopy, or low in the canopy? Are they moving up or down the trunk of a tree? Soaring above in the sky, or flitting from branch to branch? Are they foraging in the leaves or in the grass? Are they hiding in a thicket or pile of sticks and logs? See an example of the completed activity here.
Alternatively, if you happen to be more of a data-nerd, you could make a data-sheet of target bird species and micro-habitat locations then mark each new location your target species visits and/or duration of time each of your target species spends in each micro-habitat. See an example here and download a blank data-sheet template here.
-
Start a weather journal. Try to do this without using an app but instead carry a small journal or notepad with you. While at your sit spot and at several other times throughout your day take a moment to step outside and really feel and observe the weather around you. What temperature do you think it is? How moist is the air? How strong is the wind and from which direction is it blowing? How much cloud-cover do you see in the sky? What shape are the clouds and which direction are they moving? Try to step outside and jot down an observation at least three or four times per day.
Each time you make a weather observation throughout your day, take a moment to look and listen to what the birds are doing around you and consider the following questions. Are there times of day or weather patterns that make birds more or less active? What time do they start singing and moving around in the morning? What time do they settle down at night? What do you think birds do in a rainstorm? What about in a snowstorm? How do birds survive a cold night? Do you see many birds active in the middle of a hot day?
In your journal, write down your best guesses to these and any other questions that might come up for you about birds and weather.
Week 1 Study Challenges
-
Choose two birds you have seen at your sit spot and write down your best guess for the preferred habitats for each (don’t peek at your field guide yet). Draw on your own experience and memory of where you have seen them and not seen them. For example, for Song Sparrow, you might write something like “Often seen on or low to the ground, in thickets & bushes, and near water. Often seen near my house but usually not on my feeder.” After you have made your best guesses, read about the preferred habitat of each of your birds in your field guide or on the website All About Birds.
-
in your journal, make two quick rough sketches of North America and then, without peeking at your field guide, color in your best guess for the range of each of the birds you chose in the last challenge. Do you think this bird migrates or lives in the same range year round? In what other parts of North America does this bird live?
After you have colored your best guesses for your birds’ range, look in your field guide or birding app for the official range maps. Sketch and color those maps beside your guess maps. See an example of this completed activity here.
If range maps are brand new to you, check out the inside front or back cover of your field guide for an explanation of what they mean. Or read an explanation here.
-
Look up the preferred habitats and range maps for five to ten other common birds whom you’ve seen (or you’d expect to see) near your sit spot. Write down some notes for these in your journal and draw the maps if it helps you remember.
You can use the lists of common birds above or click here for a short video about how to use Merlin App to find a list of the most common birds likely to be seen in your area.
Bird Nerd Bonus: Take 10-15 minutes to play with the Bird Migration Explorer, a super cool & super nerdy interactive tool that shows migration patterns. Bird Nerd Bonus points for anyone who discovers which two bird species commonly found in Western NC have migrated the farthest (one has made it to Northern Alaska and another has made it to Southern South America!!).
-
Watch this video about how to read abundance graphs on the Merlin Bird ID App and why they are so helpful to effective bird identification.
After you watch the video, use the Merlin App to explore abundance graphs of birds in your location in winter. Follow the instructions from the video
Filter by Location: “Current Location”
Filter by Date: “Today”
Sort By: “Most Likely”
Start by just focusing on the top 20 or 30 birds. How many of these do you already recognize? Based on their abundance graphs, how many of these leave this area during migration?
Now change the Filter by Date to June 30 (after migration has ended). Notice how the list changes. How many of these birds do you recognize from past summers? Based on the abundance graphs, when can you expect to start seeing them again this year?
-
Read this short article about the different forest-types and habitats of Southern Appalachia. Which habitat does your sit spot most closely resemble? Which other forest-types have you visited nearby while hiking or driving?
Bird Nerd Bonus: Still haven’t had enough? Spend some time nerding out on this beautiful and informative map of the Ecoregions of North & South Carolina.
Please feel free to post any photos, reflections, observations, sketches, or questions from this week’s homework on our Facebook group!

Week 2: Behavior
Discovering and Interpreting the Secret Lives of Birds
Each Week of the course new Field Assignments and Study Challenges will be posted on the Participant Page